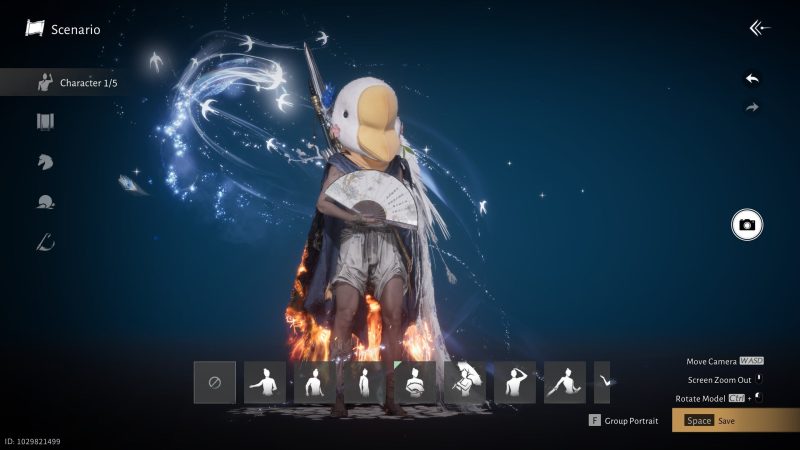
Ever wondered how unique you can make your Wuxia warrior in Where Winds Meet? The game gives you intricate control over your character's look from the start, but the real magic happens after you begin your journey. Let's dive into all the customization options you have, both before and after character creation.
When you first start, after the opening cutscenes, you'll get to create your character from scratch. You can customize a variety of features including your foundation, eyebrows, pupils, eye makeup, lip makeup, blush, facial accessories, facial hair, and hairstyle. One thing to note: you can't change your hair color initially – everyone starts with the same dark locks. To change it later, you'll need Hairdyes, which you can get by exchanging currencies. For more details, check out our dedicated guide on changing hair color.
After picking your body type, you'll have the option to use Smart Customization. This nifty feature can generate a face based on a voice recording or an image. For voice, you just read a reference text, and the game picks up on traits to build your character. For images, click Upload Image and grant permission to access your files. While there's no strict image requirement, it's best to use a clear, unobstructed photo of your face to avoid confusing the AI.
Once your character is created, customization expands even further. You can revisit any aspect of your initial look – hairstyle, body type, makeup – often at the cost of certain items. You can also change your clothing, weapon, and mount appearance. All these options live in the Appearance section of the main menu. To change your look, you'll need specific items, which you'll collect as you play.
Importing customization data is also possible. You can do this during or after character creation, for outfits or appearances. In the Appearance menu, you can upload an image with a QR code or enter a customization code. You'll find these codes in the in-game Gallery or from other players. When you find one you like, select Apply and choose how to apply it. To share your own creations, use the Share feature in the Character Customization menu – it generates an image with a QR code in the bottom-left.
Outfits are another cool feature. You can create outfit sets called 'Plans' that you can switch to anytime or set to auto-change based on activities or regions. To open the outfit selector, go to Appearance and press the Outfit Plan button (F on PC, Y on Xbox, △ on PlayStation). From there, you can save your current appearance to a slot. You can also retake the cover image, rename your outfit (up to nine characters), overwrite the saved look, apply a build, or set automatic switching rules.
Did this guide help you create the perfect warrior? Let us know in the comments below!
Comments (0)
Log in to join the discussion
Log InNo comments yet